
BK (budget) Wargaming


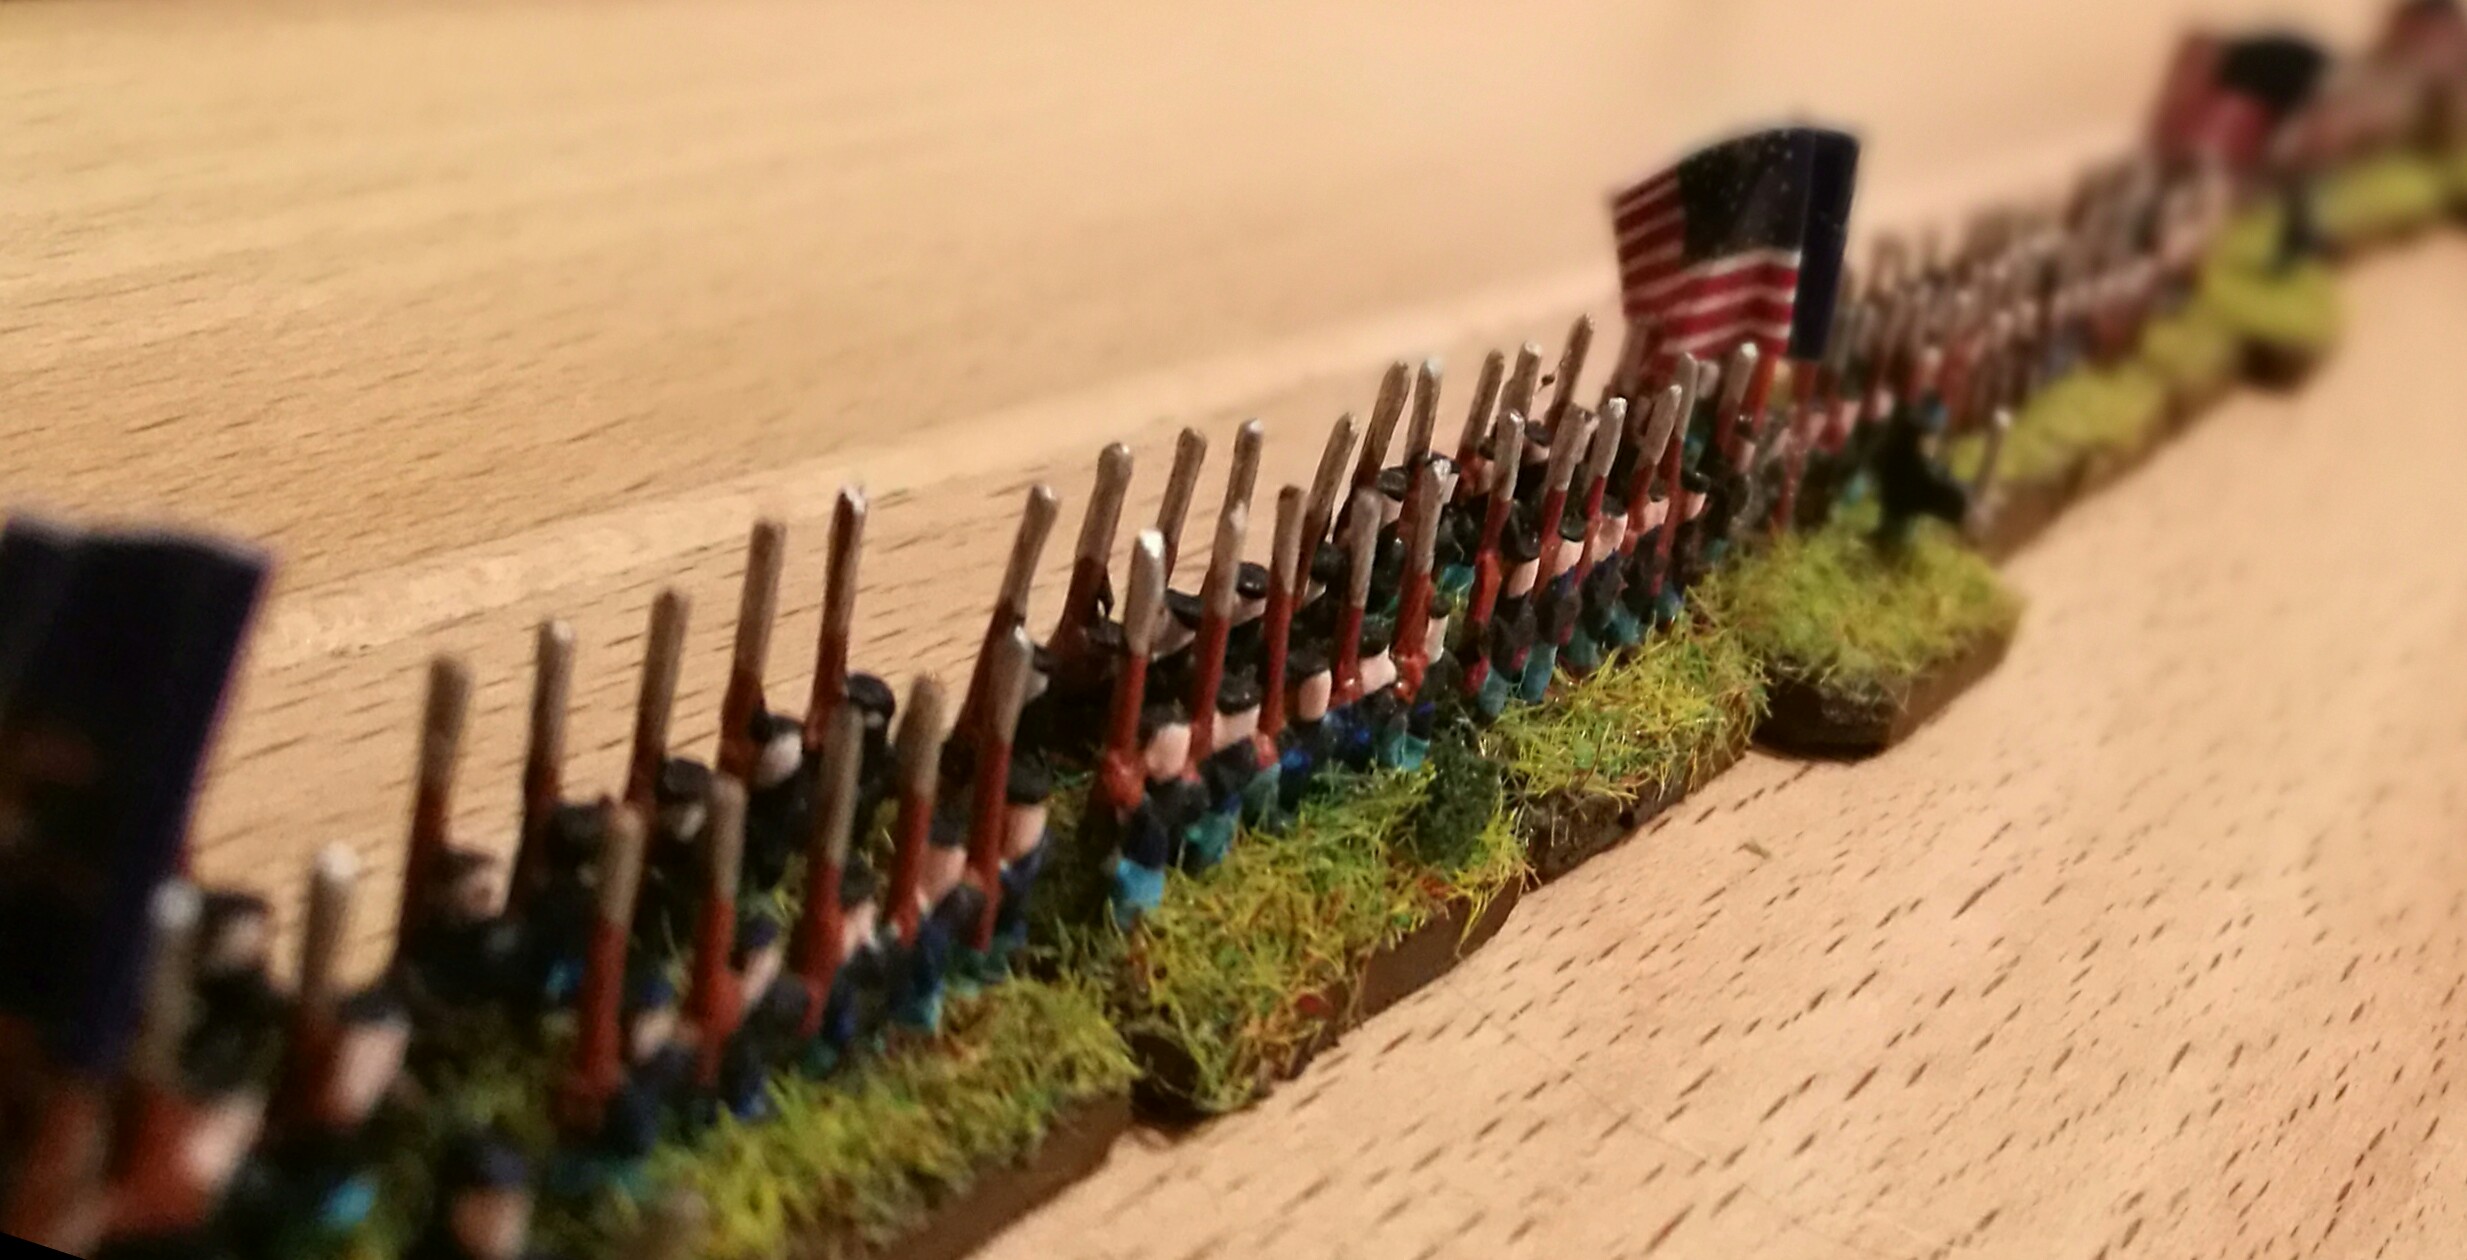
1. Infantry ~560 Man, 48 Bases
 +
+
Materials:
Granny Grating 1 euro
Wire 0,6 mm, 5m 1 euro
Cardboard 1 to 3mm thick DIN A3 1,5 euro
also you need this: but in small amounts:
Uhu Glue 2,50 euro (35g)
PVA Glue 6 euro (1l) maybe 50ml used.
7 Acrylic Colors each 3 euro per 100ml (only few drops needed)
blackboard paint 10 euro no smaller package found;
a Sheet for printed Flags online 0,07 euro per sheet as cheapest, i payed 27 cent.
The Material cost you some where 4 and 6 Euro, and you will need around 10 hours, plus dry times.
Cutting
0,5h
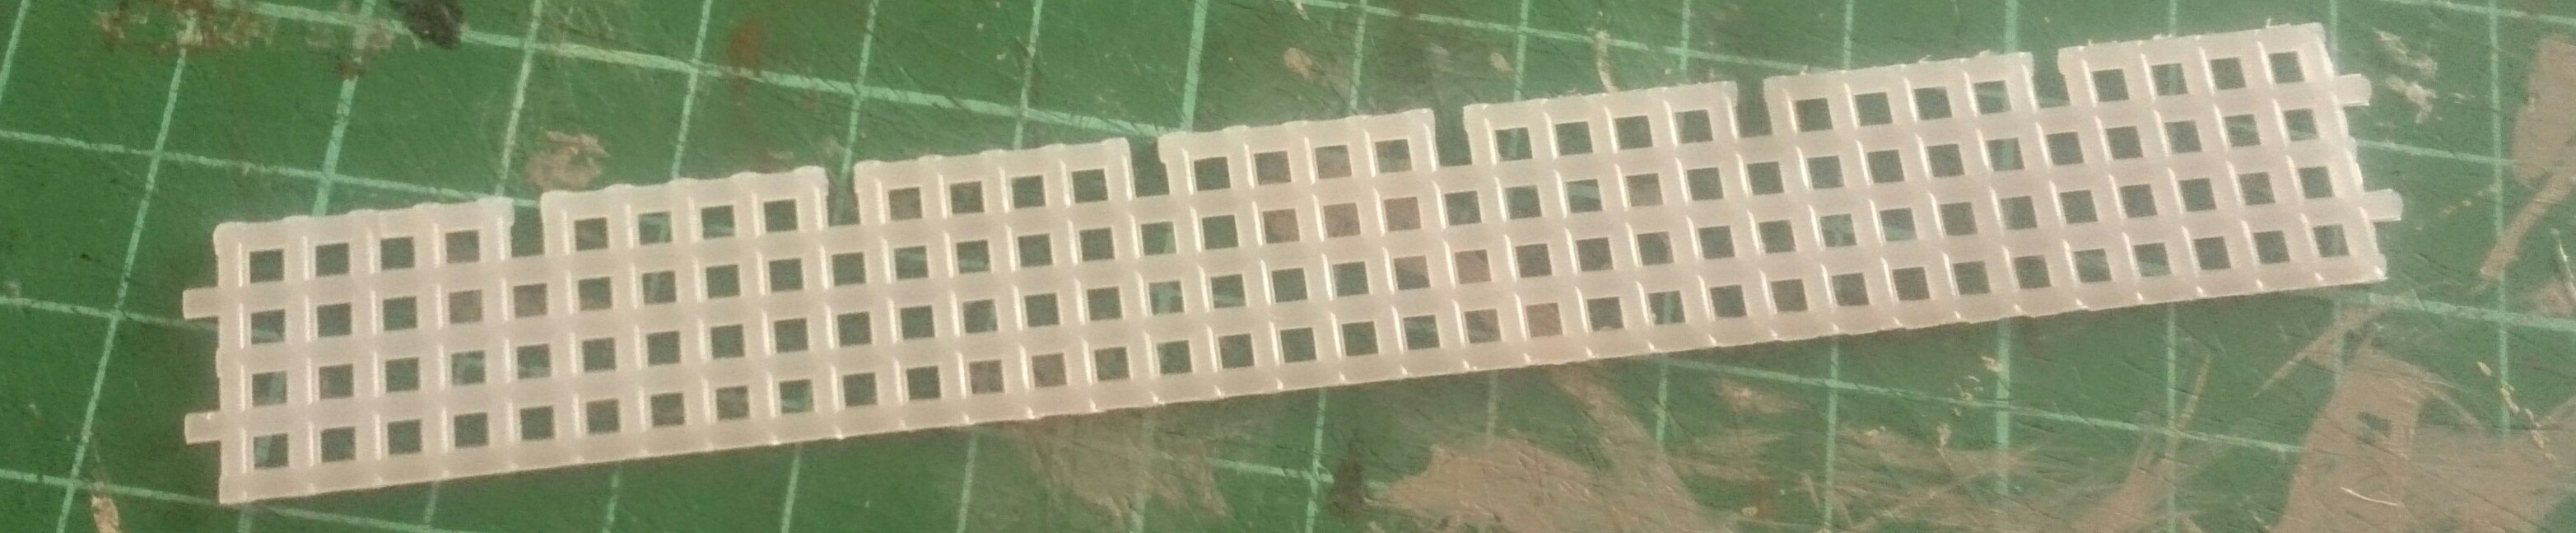 First cut the Sheet in the desired width, my infantry gets on 5 Unit wide bases, so i cut them at 35 Units.
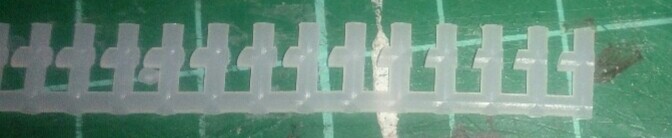
 After all Strips are cut, I cut the Arm/Shoulder Part, first all straight Cuts than all diagonal ones.
Prepare to Assemble
0,5h
To Prepare your Units, glue the strips on a working Holder. I use some Wood with double sided Tape, and fixed with hot glue.
Cut Guns
0,5h
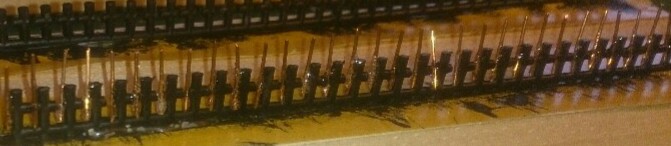
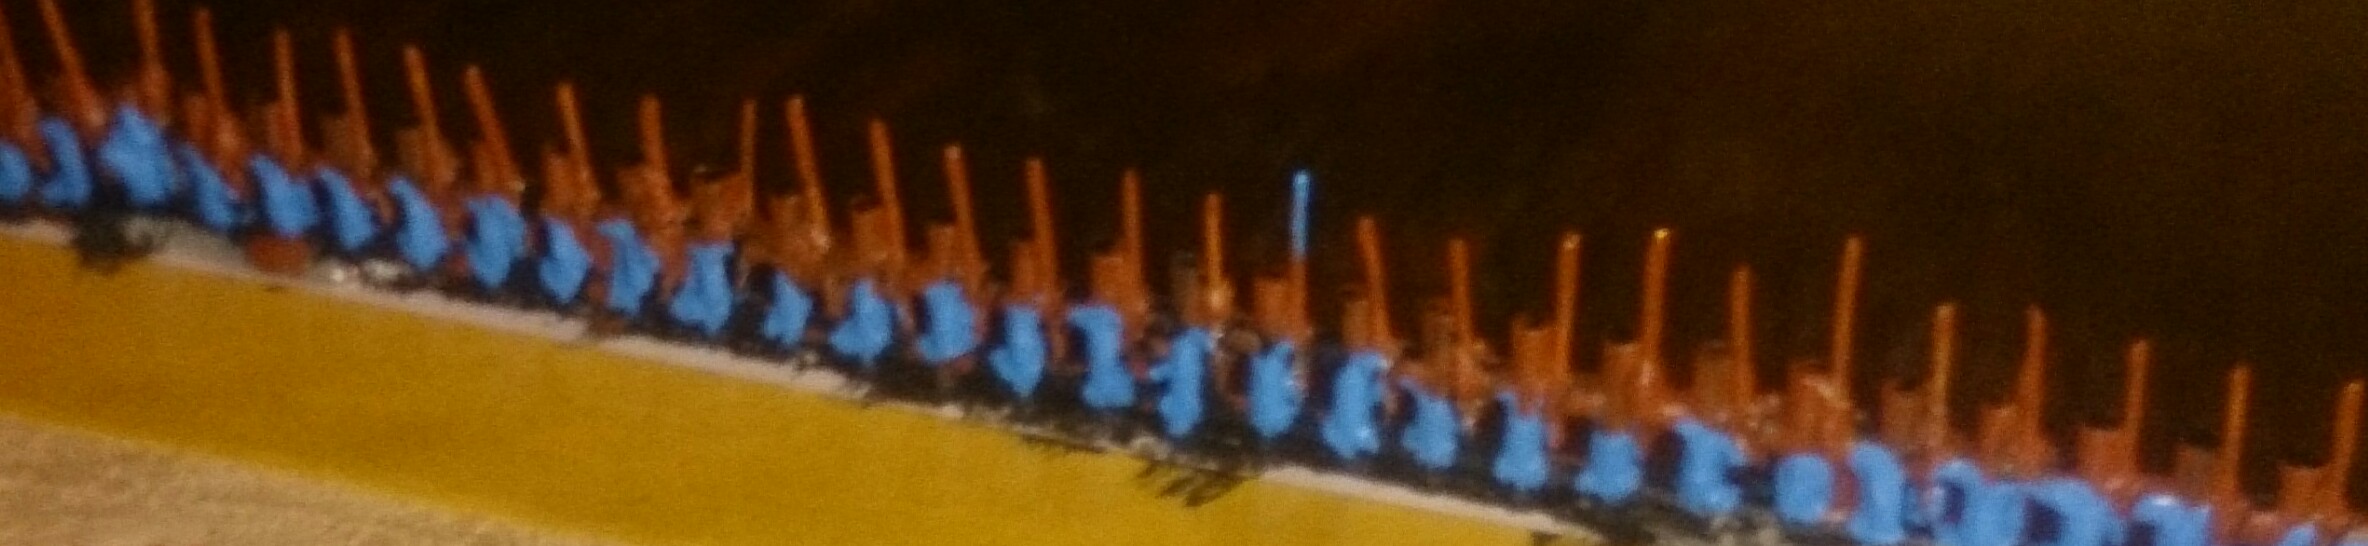
The Guns are 0,6 mm diameter (AWG 19?) Copper wire, just strip away the insulation with a sharp knife, and cutted in 9 mm length.
 I like to give every man a rifle, just looks amasing in my opinion.

Prime Infantry
0,5h
Now mix some black acrylic paint 1:1 with PVA Glue and paint your stripes. Ill brush them twice on front, back and than up down, this evens the paint out. The PVA is important, it seals the plastic, and strengthens the figure.

Glue Guns
4h
The first real "work" step: Glue the Guns in Position. Using for this Uhu allpurpes glue gives me 2 benefits: very sticky, the guns stay where they have to go, and stays long enough flexible to make adjustments. Glue the Guns between the Infantry Arms.
Prime Guns
Now draw a mix of Burned-Umbra and PVA on the Rifles, after they dried over night. You can go very fast, just cover the whole rifle, it does not matter to cover some men parts too. This will strengthen the glued bond.

Paint
per Step/Color 0,5h
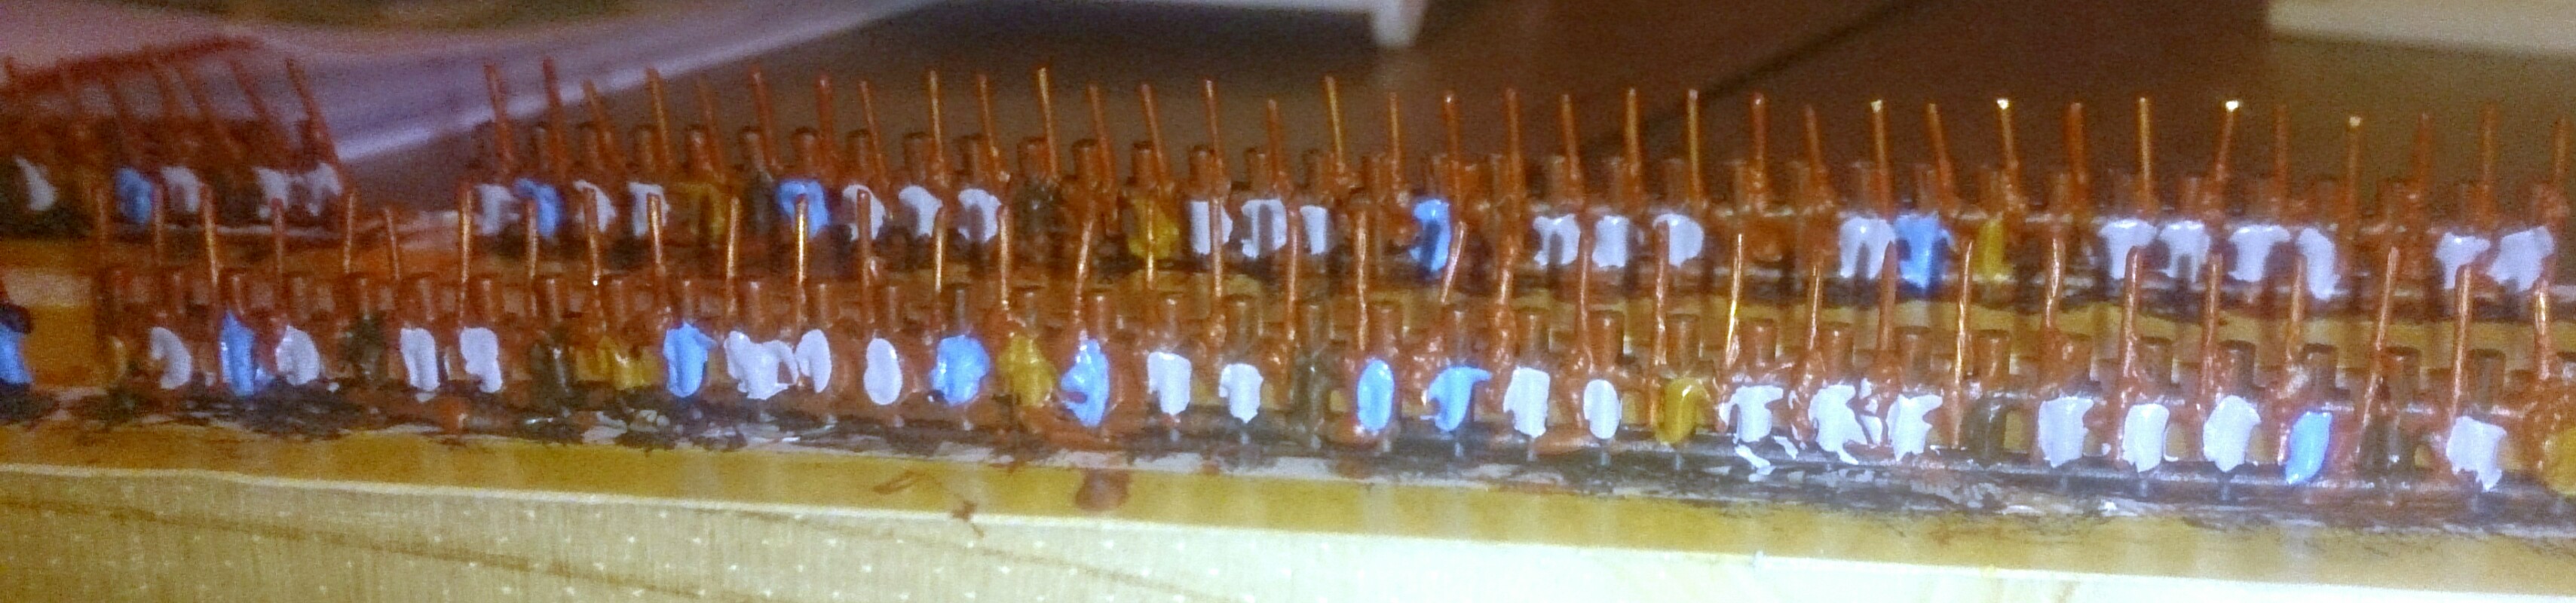
Your Units are now ready for Painting. Because Acrylic Paint has a fast dry speed, it's pos.sible to draw all Layers in a row without further pauses. the order is from inside to outside. start now with the trousers. Keep the bottom clean, the primer black are the shoes. also keep the Rifle in its brown.
 Paint in Order: Trousers, Jacket or Frake, Face, Cap. From Inside to Outside and Bottom to Up.
 You may add additional Features, like on prussian Pickelhaube a Golden Spike as yellow dot, or decorations, belts etc.
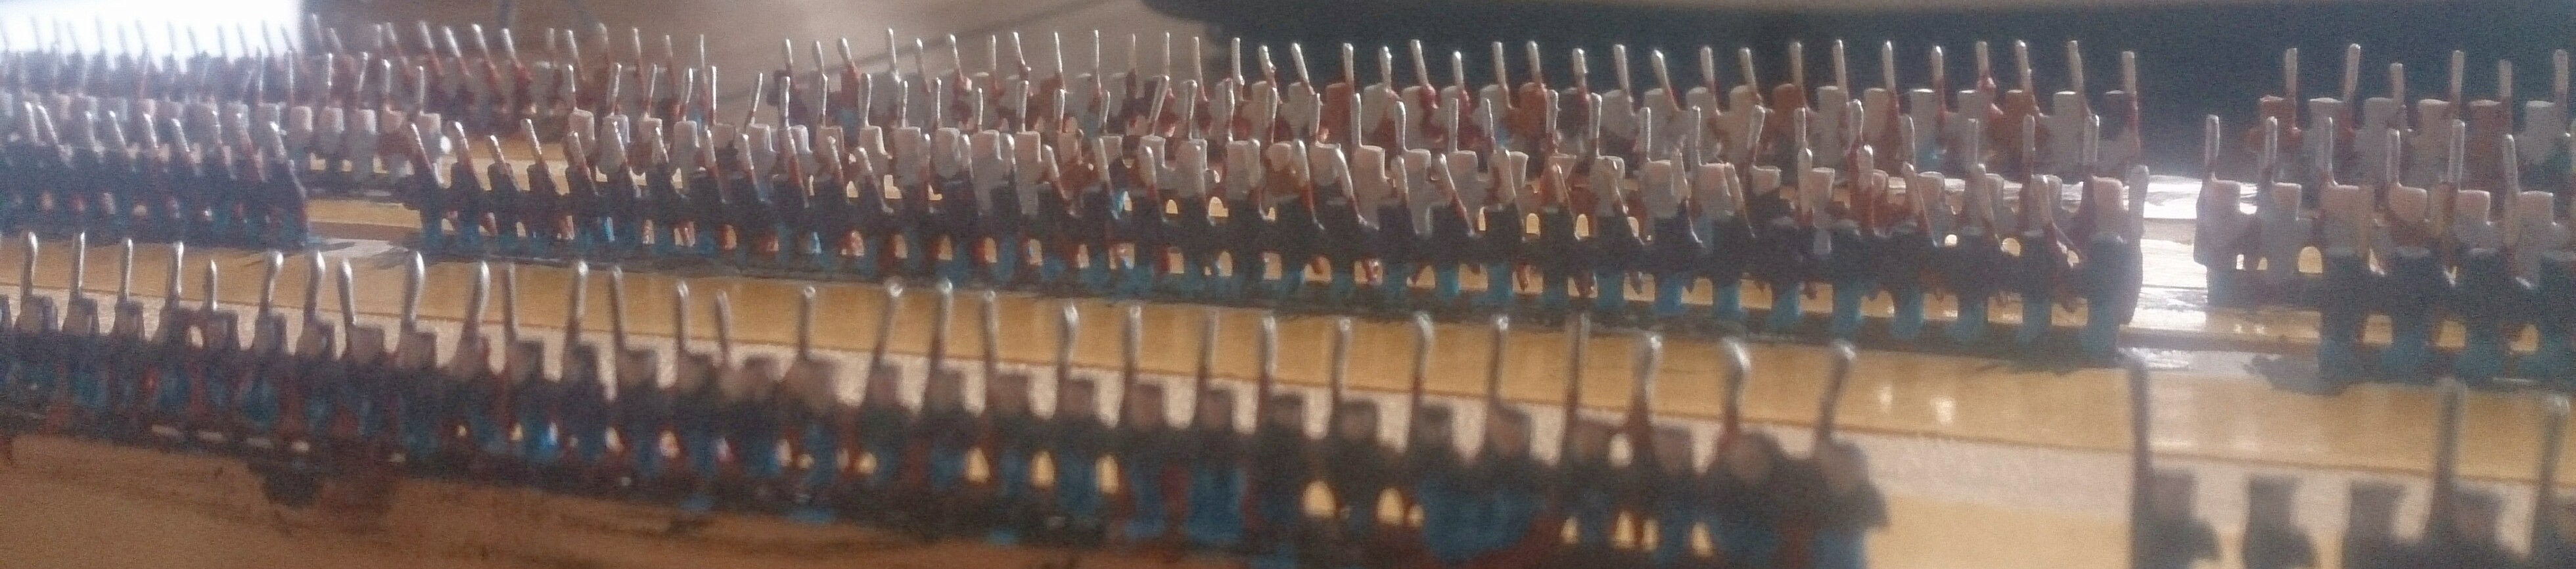
 Here you see CSA Rebels. They did not have a uniform look, so i paint at least 4 different colors for the Trousers and jacket. Using a 1-2-3 Dice, for skip and fill grey, than do every second unpainted in another color for some true Randomization.
Finaly adding a dot as face brings all soldiers alive, and maybe a bit color for the acw kepi. Than add Silver for thair Bayonetts.

Prepare Bases
Cut your Bases in your desired Format. For me 2x2 cm works best, so a Regiment can be in Line or March Column by 4 Bases. Cut 5 Soldiers and glue them on the base with hot glue. The hot glue will set fast. Also dont worry about the glue excess.
Final Base Decoration will be in a separate upcoming Tutorial.
---


Downloadable Gaming Rules in PDF Format. The Rules are right now in alpha State (Changes in Values are pendding and advanced Rules arnt written jet). Theres a German Version, a english set version, and my Note File on Google Docs availible.
- BK Wargame Rules, Version 05, english PDF +
+
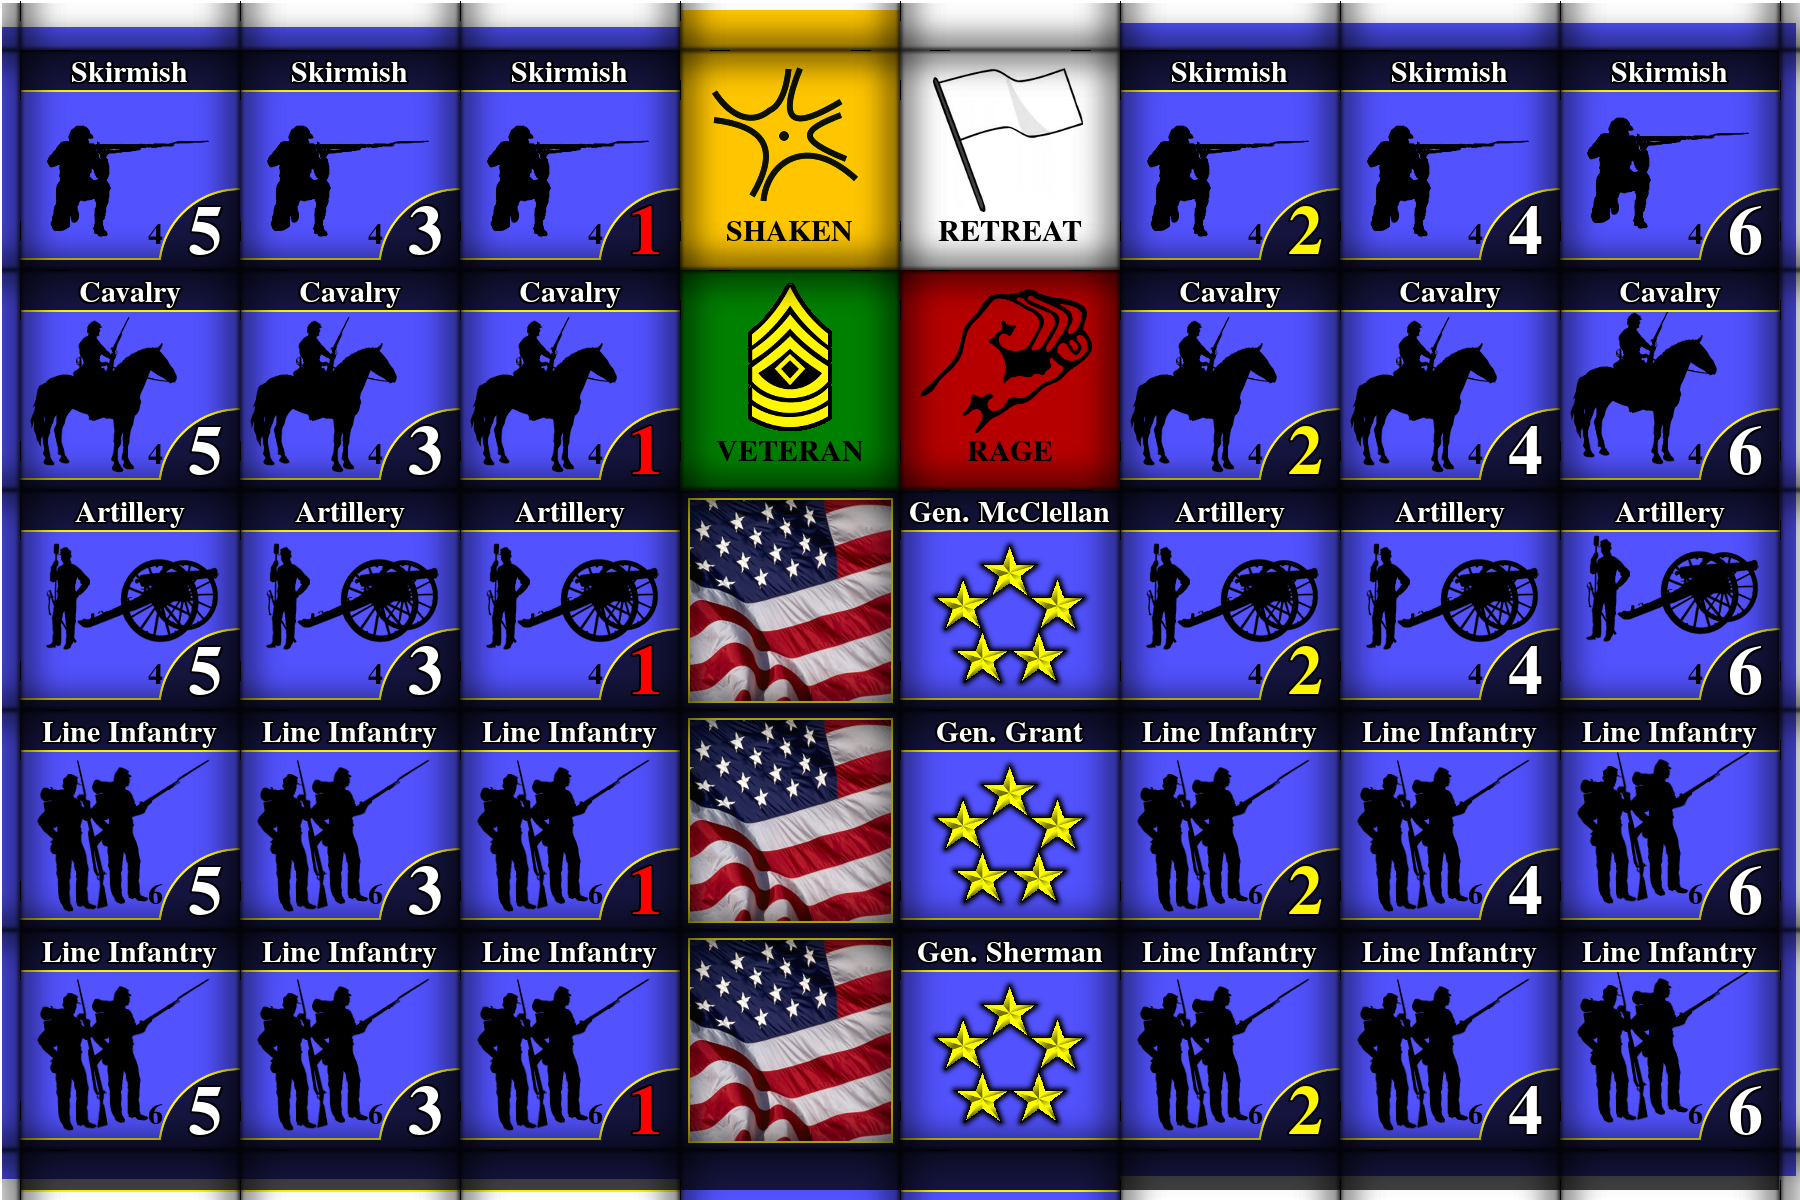
Counters for Campange Games to keep Track of your Armies, or for Solitaire ACW (a Game PnP 5$ on BoardGameGeeks.com) This Counter are to be Print on 10x15cm Photos on Self Print Machines (also printable in any other Size). Glue 2 Together for Flipable Counters
- Counter ACW US Army, png file +
+
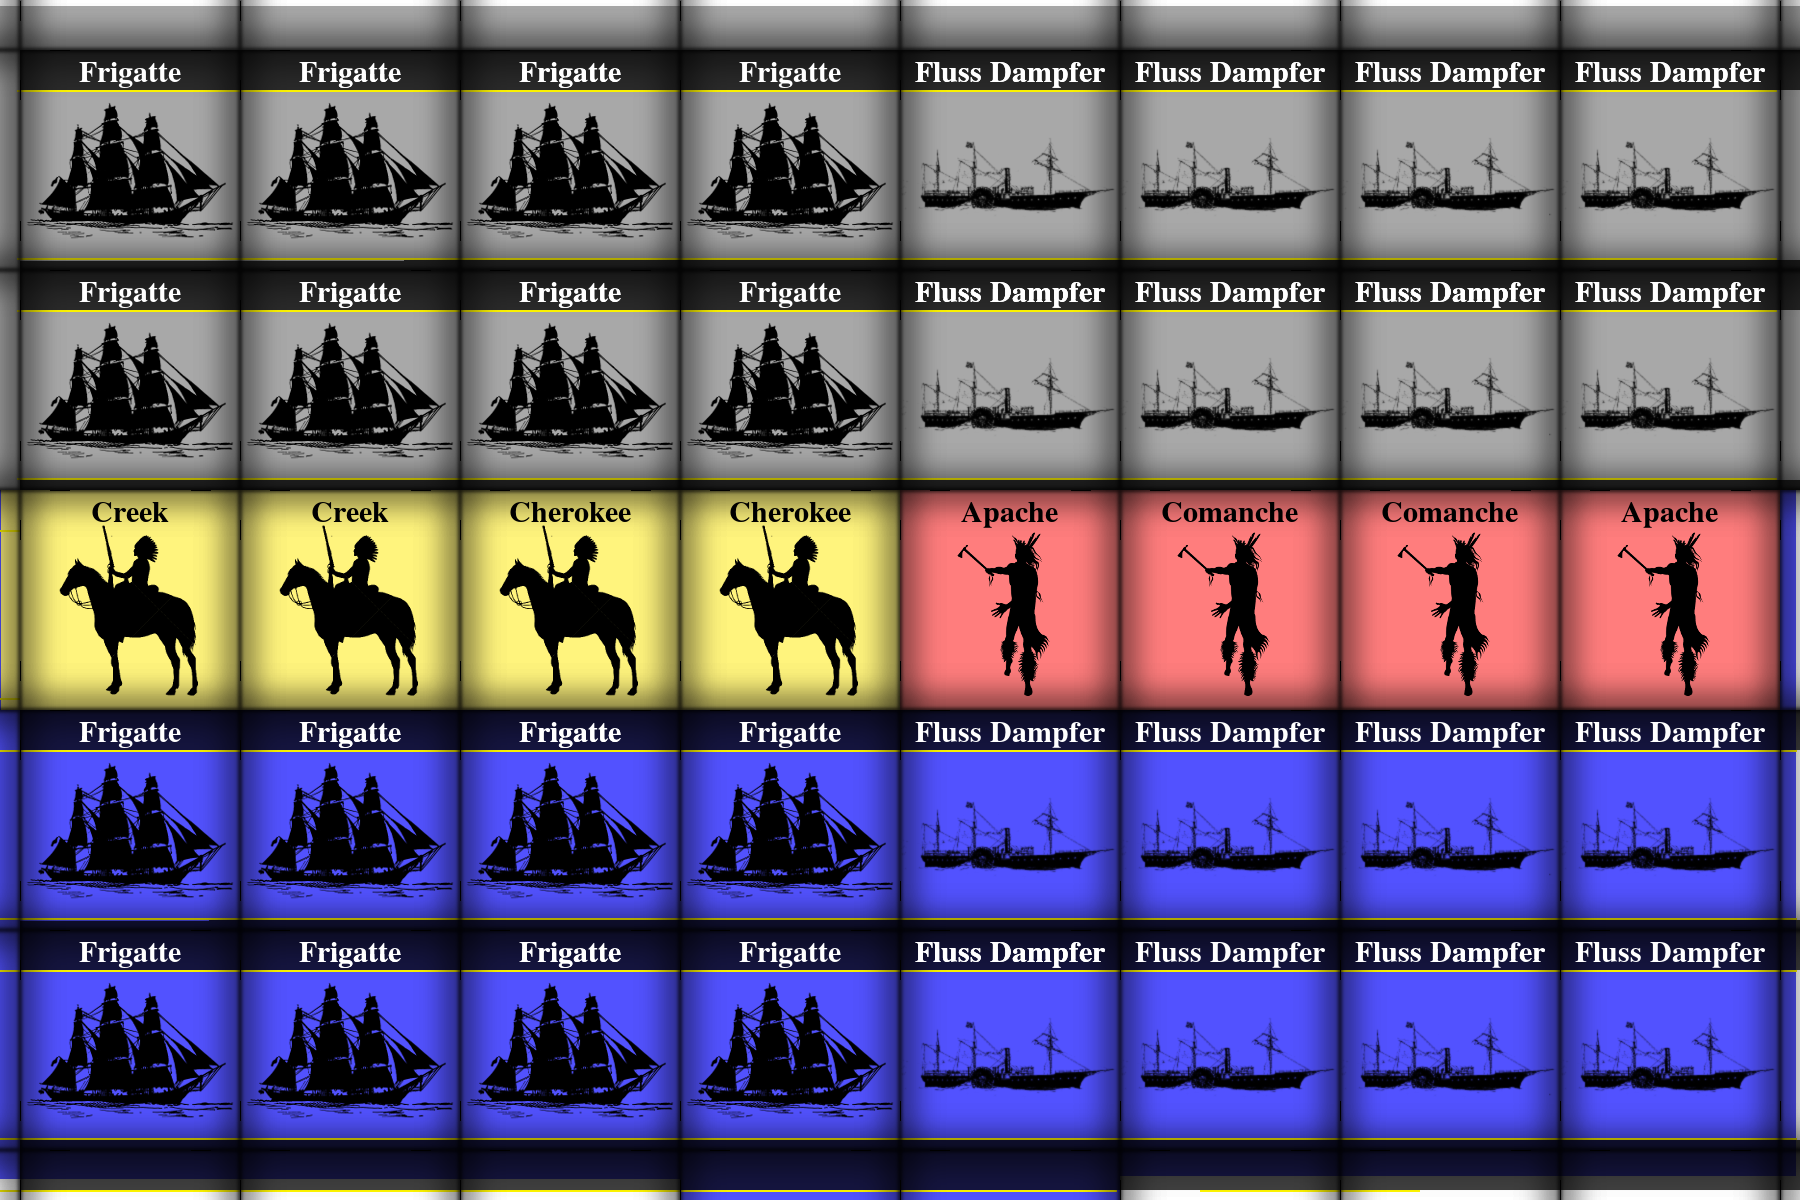
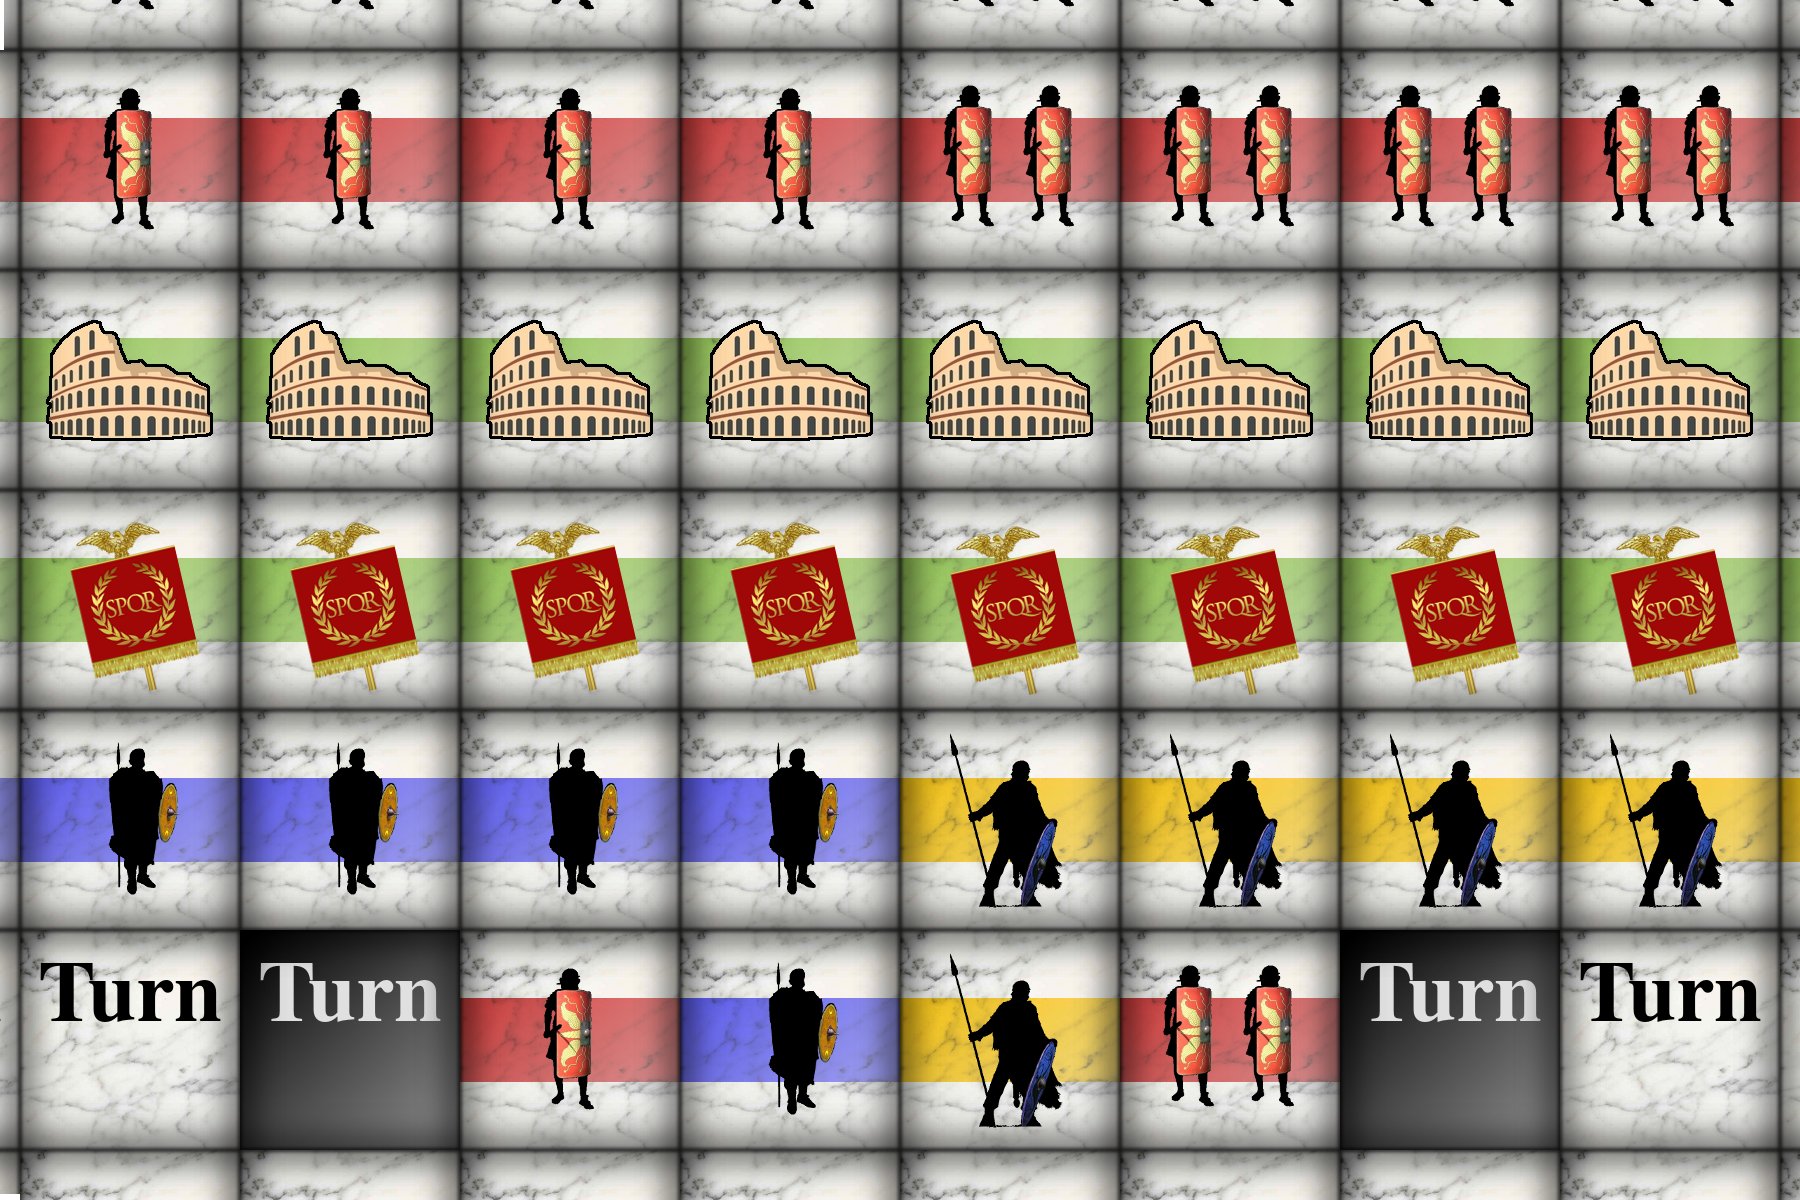
Cards for Different Purpose, to add Flavor to the Game: Files are made for 18x13cm Photos on Self Print Machines, or order them online, or in any other size, keeping the ratio.
Due to Copyright Issiues you have to Add a Background Image yourself: Find a nice high Resolution Image of your Choice online (google.com image search) and resize/crop it and add it to the Background Image Layer.
File format is Gimps xcf, to keep layers.
- 4x4 Reinforcement Cards and Backside, for easy Random Army Building 2.1MB
Resources, for your DIY 6mm Army. Various files will become availible here hopefuly in the future.